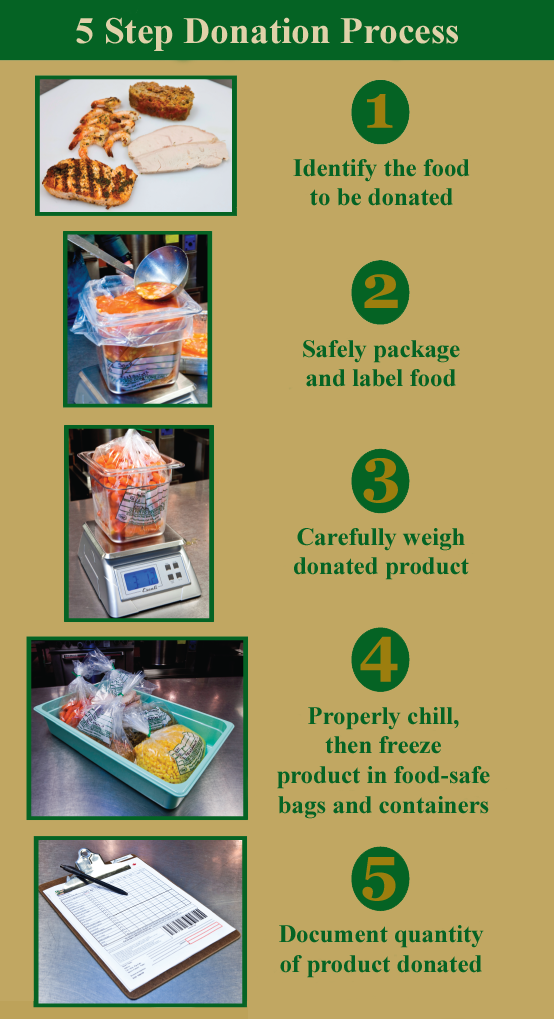
- Step 1 - Identify the food to be donated:
- Do you have non-perishable food or perishable food to donate? Is it prepared or unprepared food? (For an explanation of the terms, check out the short video below.) Non-perishable foods should be labeled with contents and date, and stored in a clean, cool and dry location until they can be transported to a non-profit agency. Perishable, un-prepared food should be packaged and labeled with contents and date, and refrigerated or frozen until it can be transported to a non-profit agency. Steps 2-5 relate specifically to the donation of perishable, prepared food.
- Step 2 - Safely package and label food:
- Use food-safe packaging materials and containers, and label with the type of food, the weight (see Step 3), and the date the food was packaged.
- Step 3 - Carefully weigh donated product:
- Because any qualifying tax benefits are usually based on the amount of food donated by weight, weigh the donation packages, taking care to subtract the weight of the container.
- Step 4 - Properly chill and then freeze donations:
- To avoid spoilage, food donations should be quick cooled to 41 degrees Fahrenheit or lower, using an approved method. There are several approved methods, but a common one is to place the food in shallow containers no more than 4 inches deep and uncovered on the top shelf in the back of a walk-in or reach-in cooler. Use a clean, sanitized and calibrated probe thermometer to measure the internal temperature of the food during the cooling process.
- Step 5 - Document the quantity of product donated:
- Keep a record of the type, weight amount, and date of surplus food donated. For tax purposes and to produce an audit trail, it is a good idea to have the receiving non-profit sign to verify your record of donations.
What's Involved? Surplus Food Donations
It's easy to donate surplus food to local non-profits when you follow these five simple steps:

